Donuts are here.
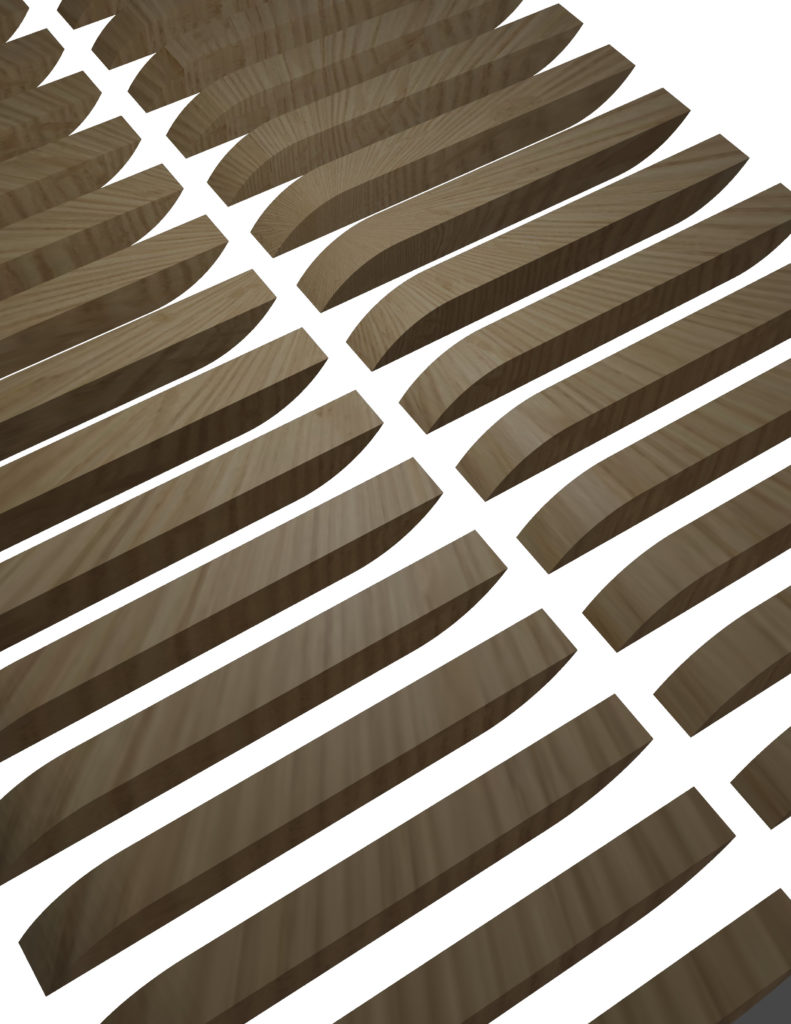
- Knife: 2C Homework

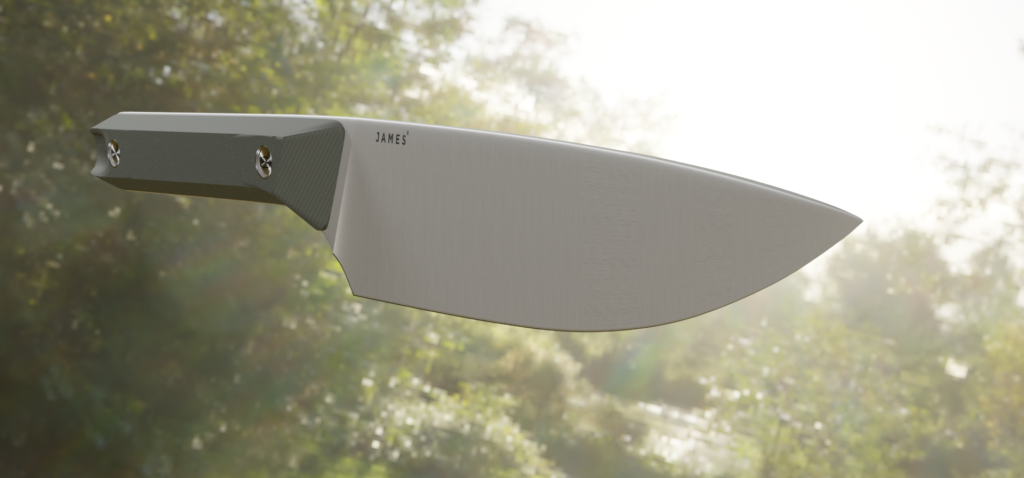
For my diy assignment, I picked a knife.
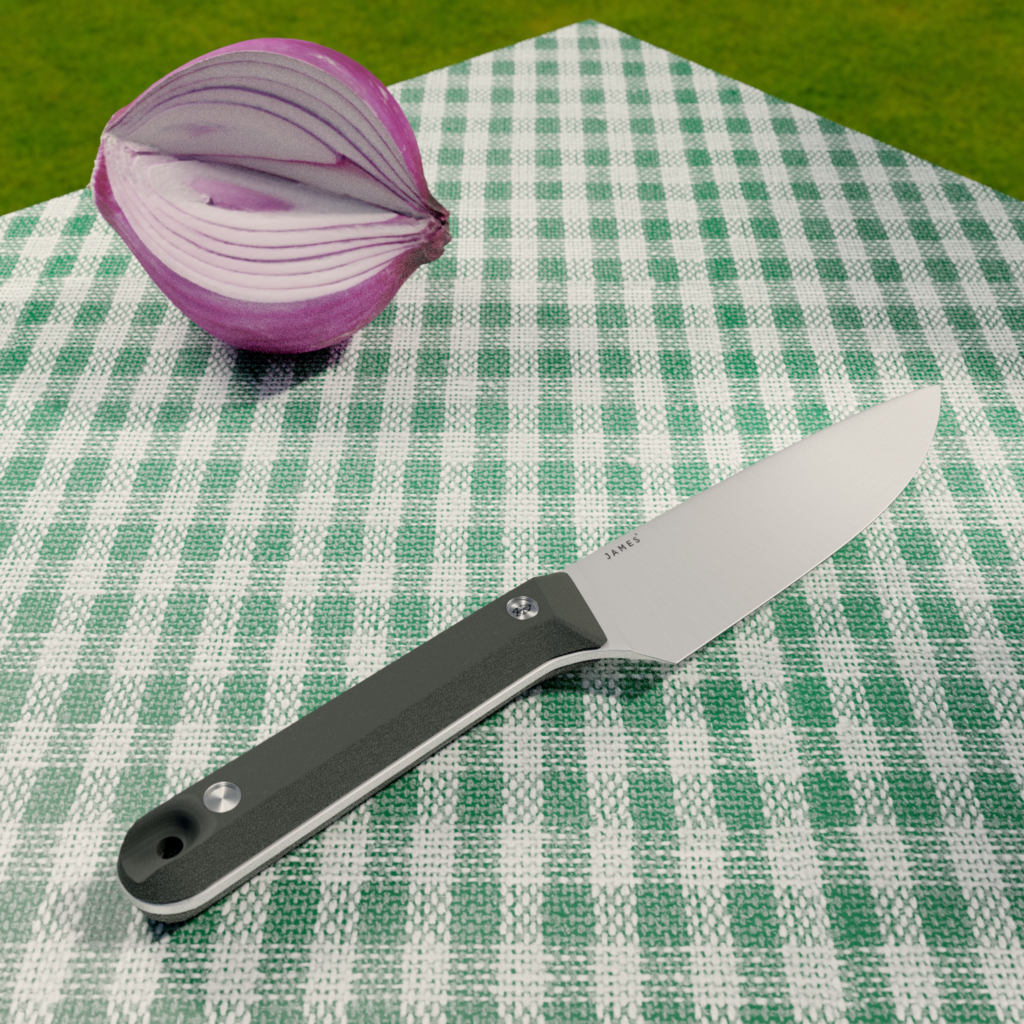
A little picnic and a snack.
Hopefully this looks realistic enough. It’s modeled from photographs of a Chefs knife that is sized for travelling.
- Anvil: the Texturing

On the roadway.
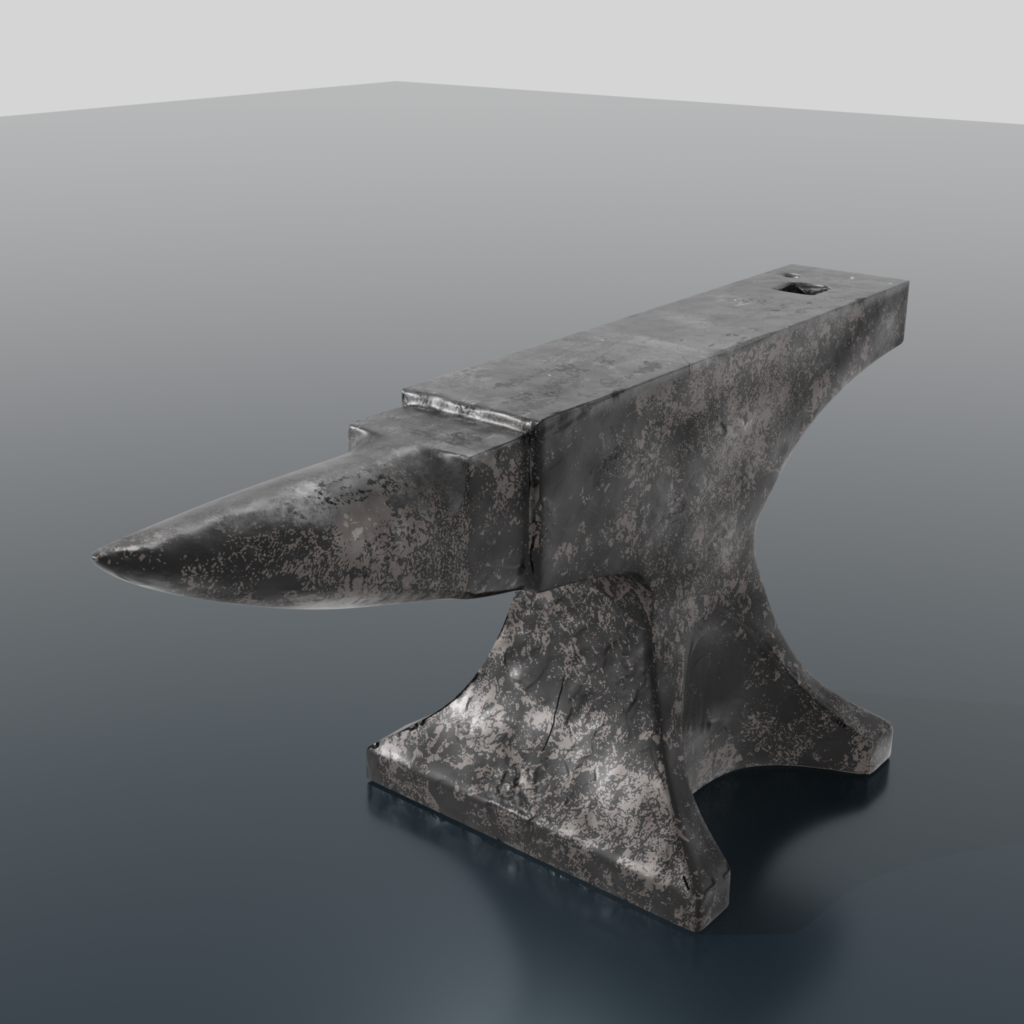
The Final Part of this is adding in a base color. I used a metal that was rusty and changed it with the Color Ramp to greys. A mask is used to make the top of the anvil have a different texture. The Brush lets the blending between the side and top work smoother. The other texture is another shader, and the new Texture Paint Image is the factor for the mix shader. You can blend Textures with a mixRGB node.
- Anvil: the Sculpting
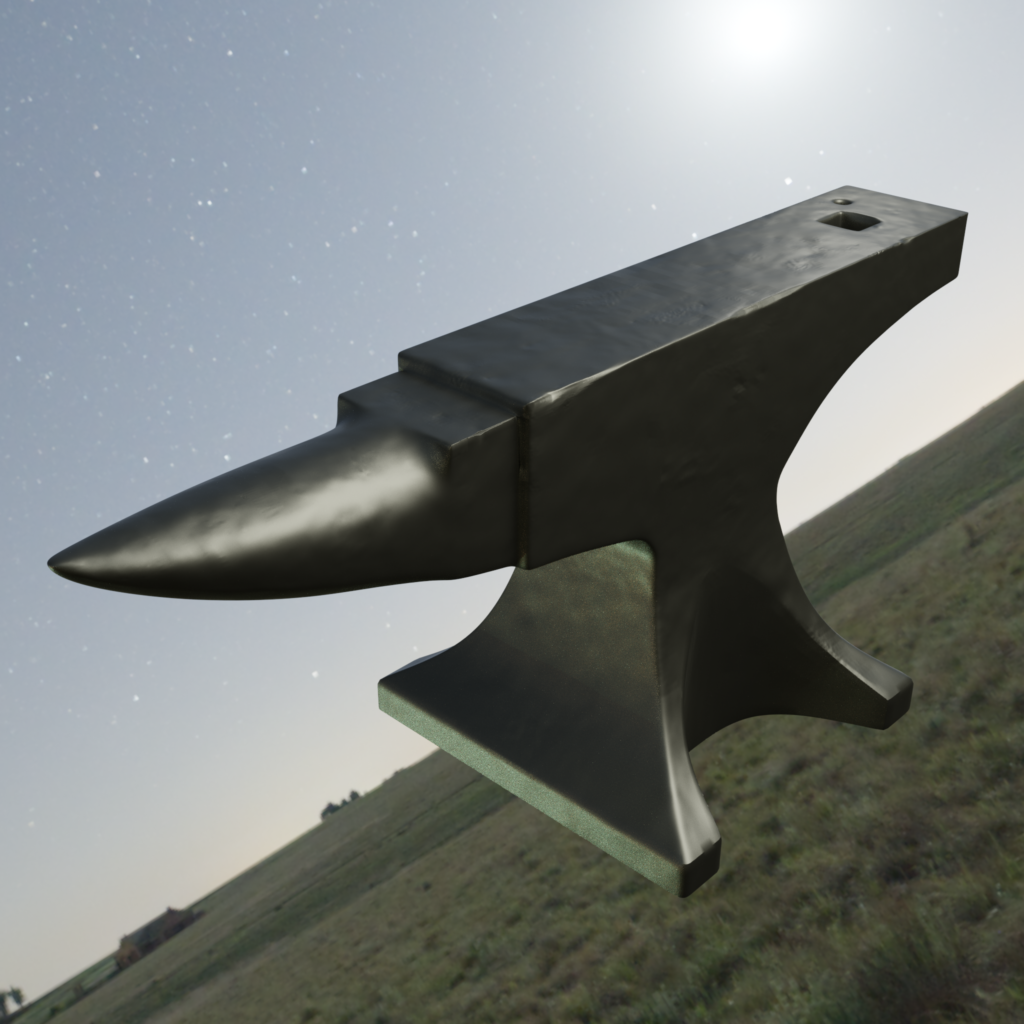
This is the Anvil banged up.
Sculpting Notes:
For the slight pounding texture, I used the Displacement modifier: cloud texture. In Sculpture mode, I clicked many Hammer Bangs. The cloud texture brush is used for gritty bumps. I tried not to make too many surface deformations. Why is everything in this lesson made to be old and used?The sculpted object was then Baked into the unsculpted object. When the normal map is placed into the “smooth” anvil, It went from 430,054 triangles, down to 133,056, while keeping the same look.
- Anvil: The Modelling
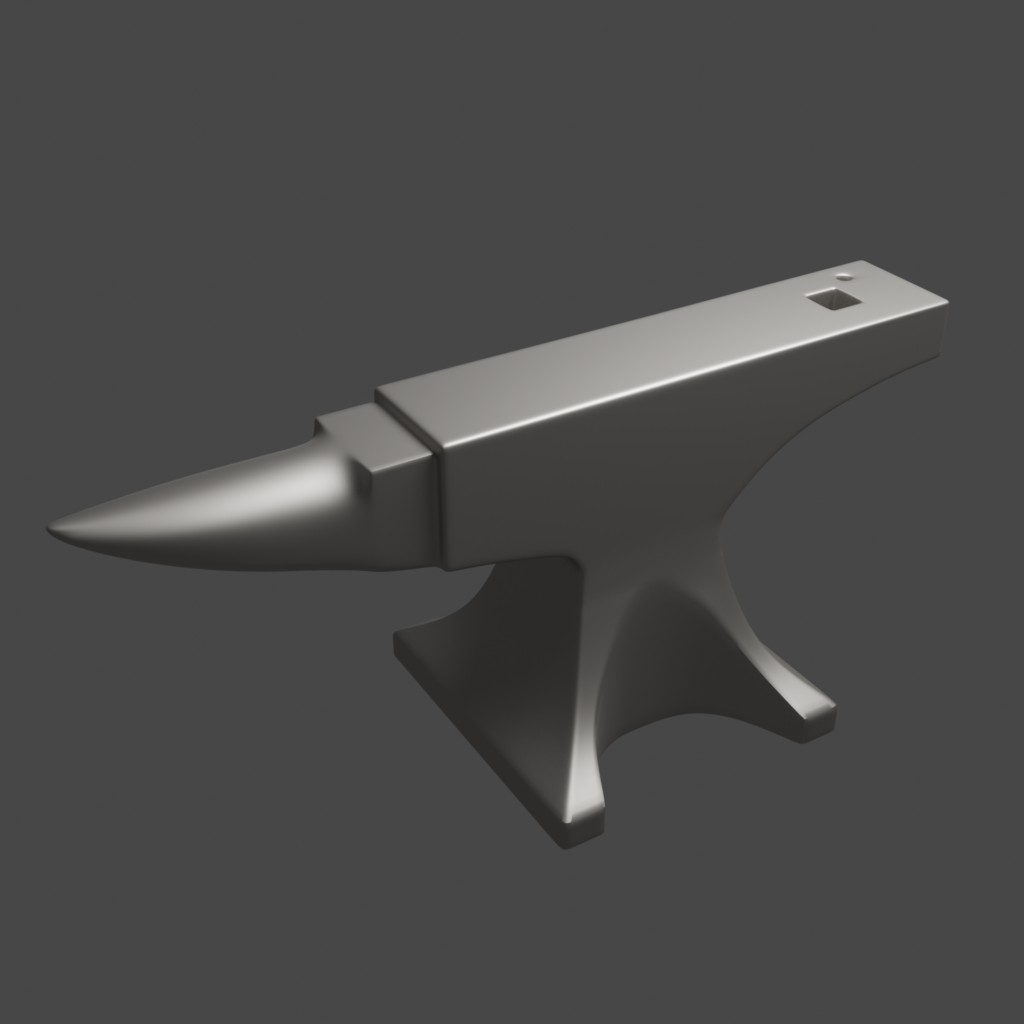
This anvil is the next lesson. It’s called texturing, but this is the modelling step.
Notes:
The Boolean modifier messes up the “clean” mesh of 4 vertices.
“G” x2 will slide the selection along the edge (vertex slide). “M” merge by distance.
This eliminates some extra geometry that can be introduced by loop cuts.
Loop Cut: on odd curves: “E” and “F” will help it conform to the different sides.The horn was the hardest. The longitudinal loop cuts (for the Hardy Hole) did end up interfering with the edges. I’m still not sure how to eliminate some Loop Ring parts and terminate them into quads. (I just found Don Newman’s Quad junction Cheat Sheet.)
- Lighting 5
Sun strip through a skylight.
Learning Notes:
Direction creates shadow which gives form. front light flattens. down on face emphasize nose cheeks lips eyes.
Size: smaller bulb throws sharper shadows. shape of light affects specular shape.
Color: warm, cold. time of day. trick: mix warm focus with cool ambiance.
Readability: object separating (rim light). false color is exposure: grey is mid value. fill light to bring out parts that the main would blow out or can’t show. more readability can been the naturalness.
Emphasis: brightness needs shadows. lume fall off is non-linear.
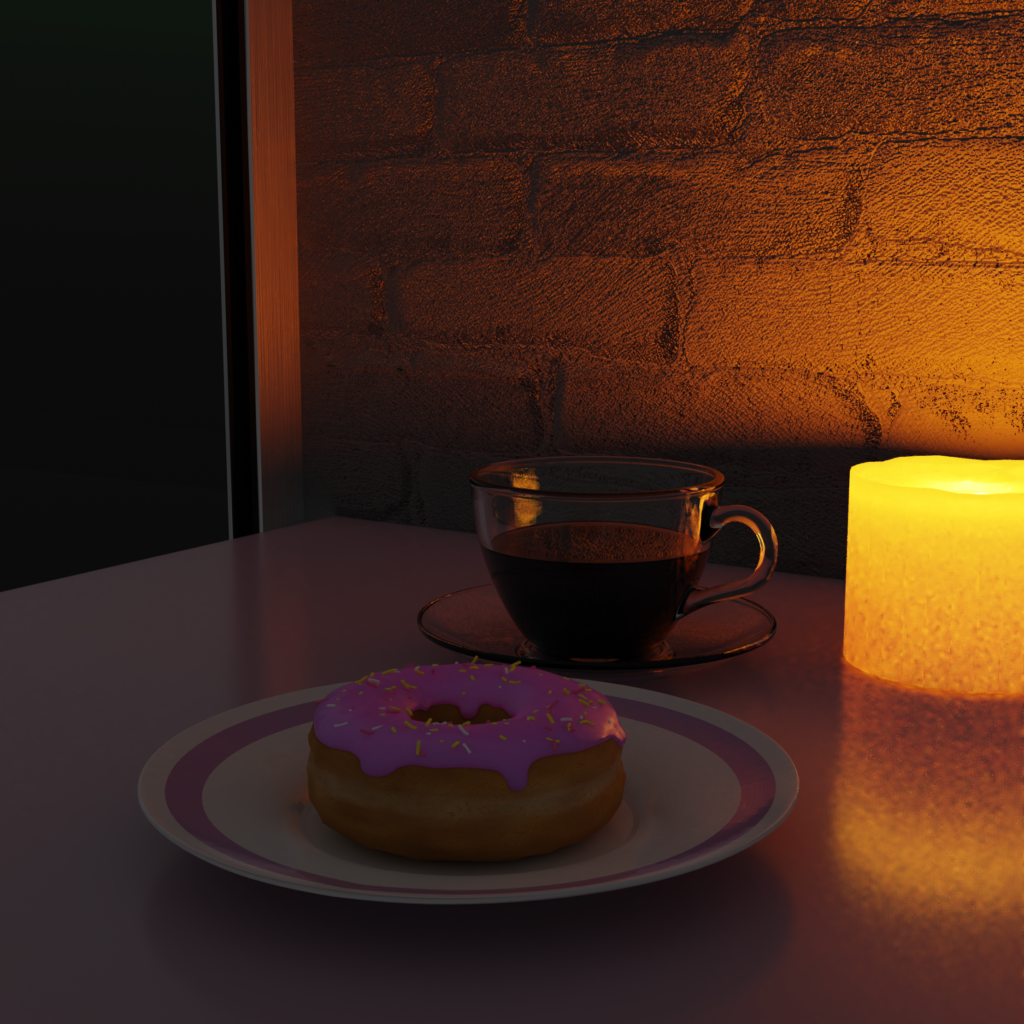
- Lighting 4
Some artificial lighting.

I tried to make the coffee the focus, without blur. Spotlight on the cup, and a low power black hole light on the donut.
- Lighting 3
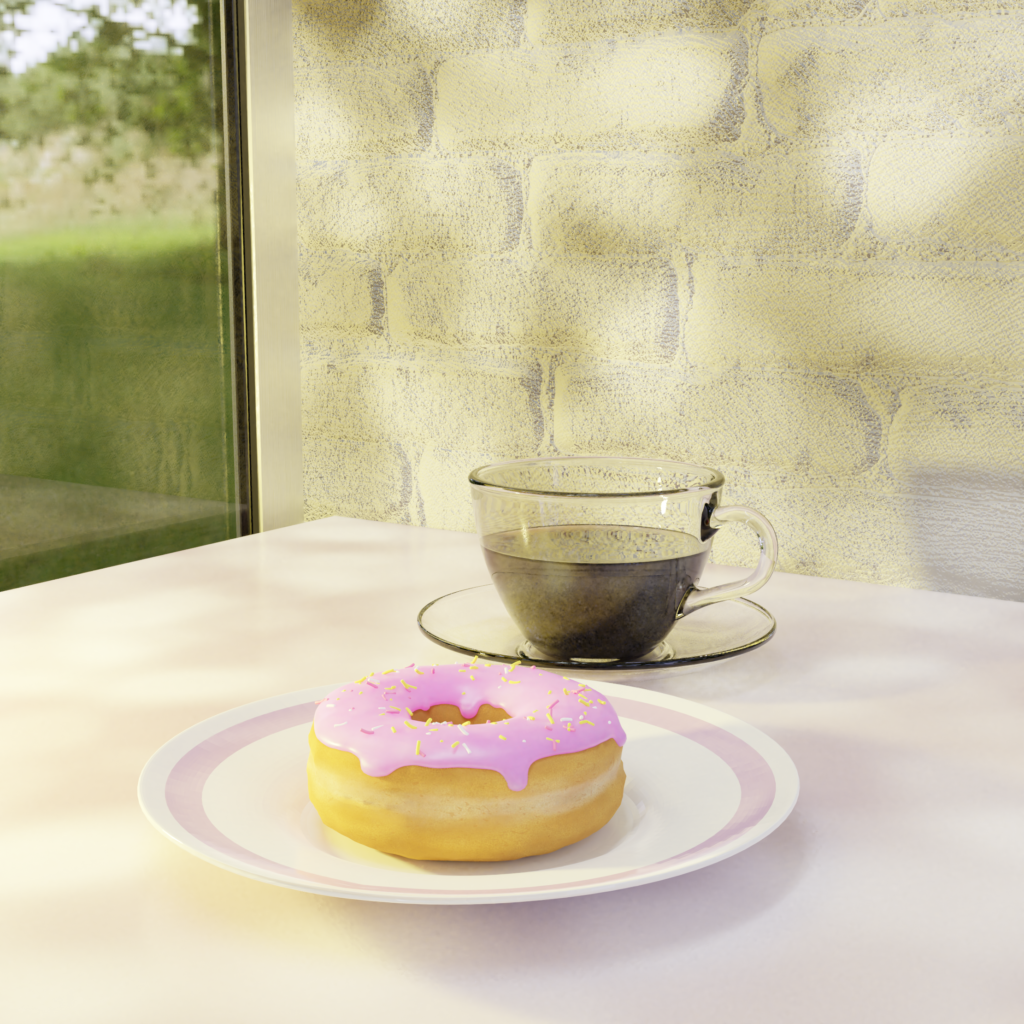
A sunny scene under some trees (leaf shadows).
- Lighting 2
By Candle light. It’s an LED light.
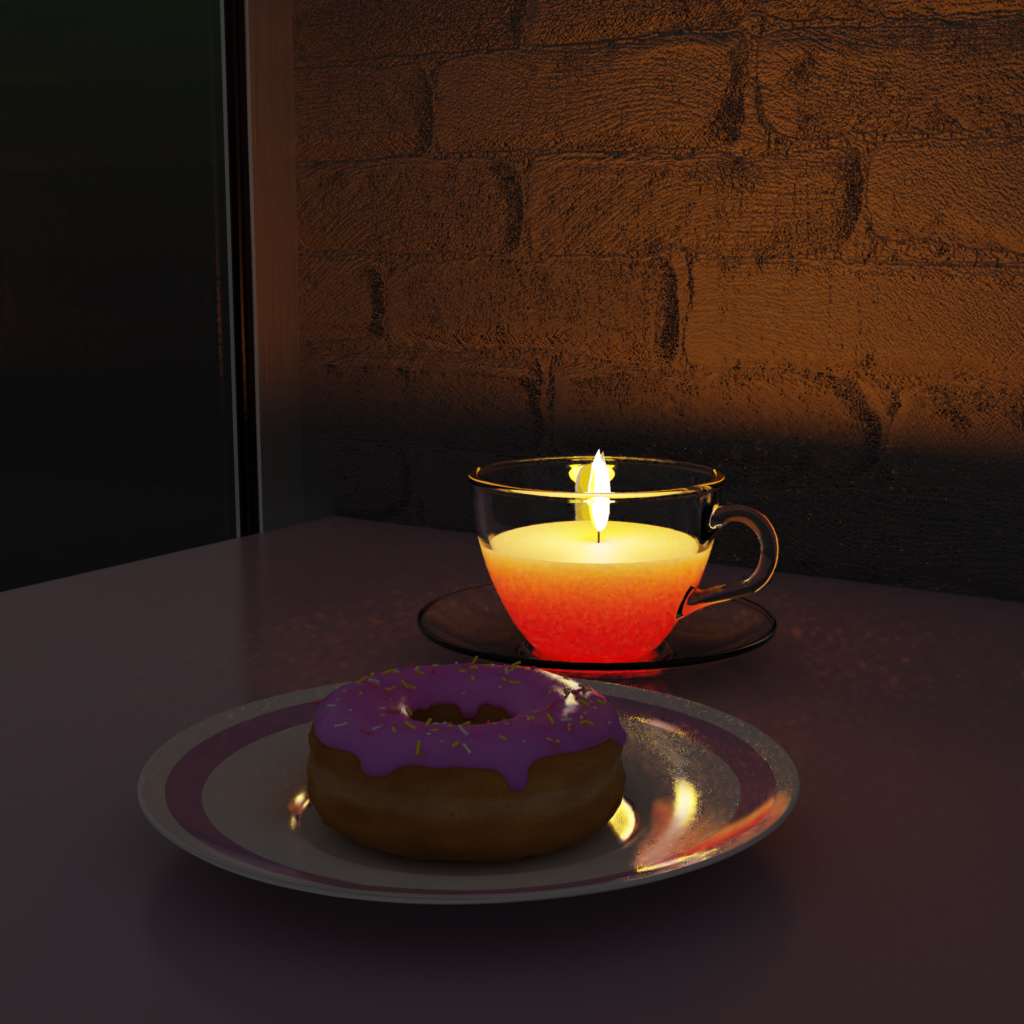
But then I thought to put the candle into the cup. And then I noticed the shadow the cup threw. Light does not go through glass.
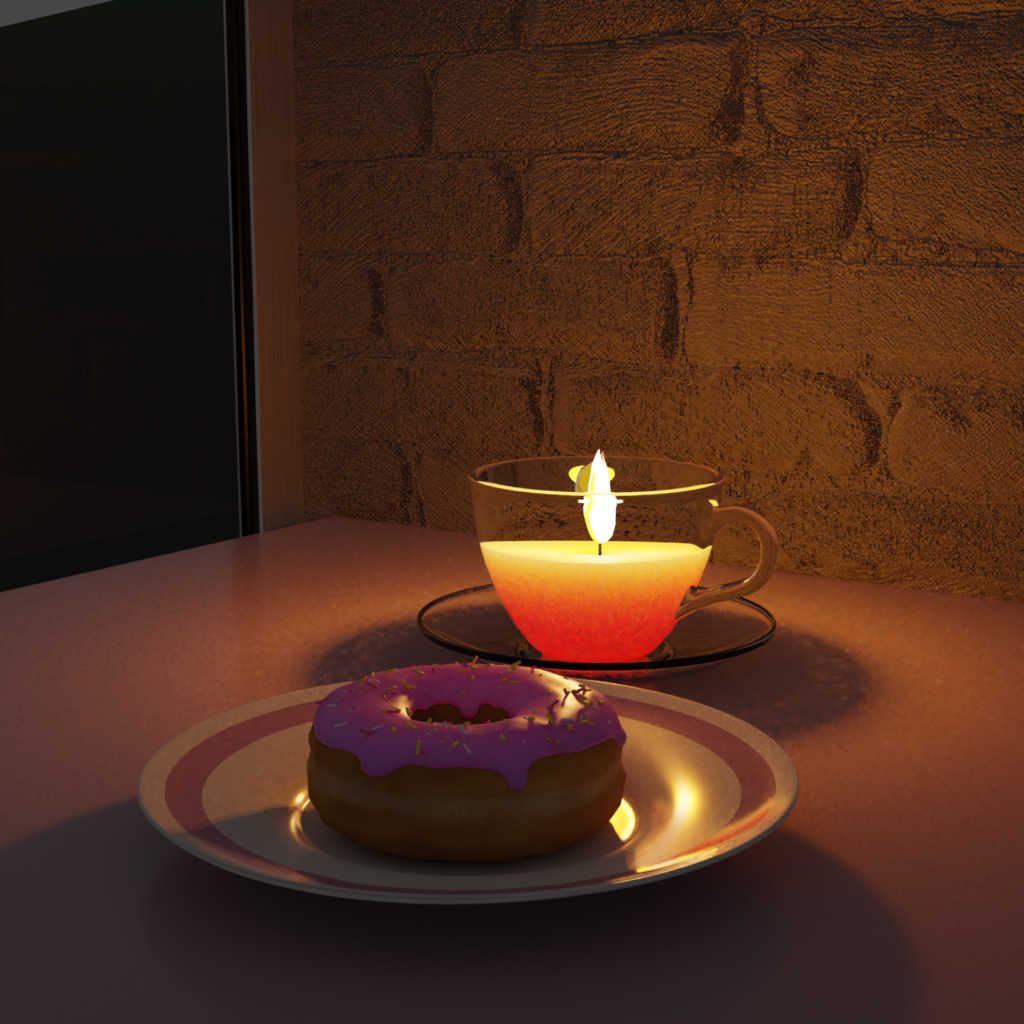
Here’s the quick work around with a mix of other shaders and light rays as factors.
- Lighting 1
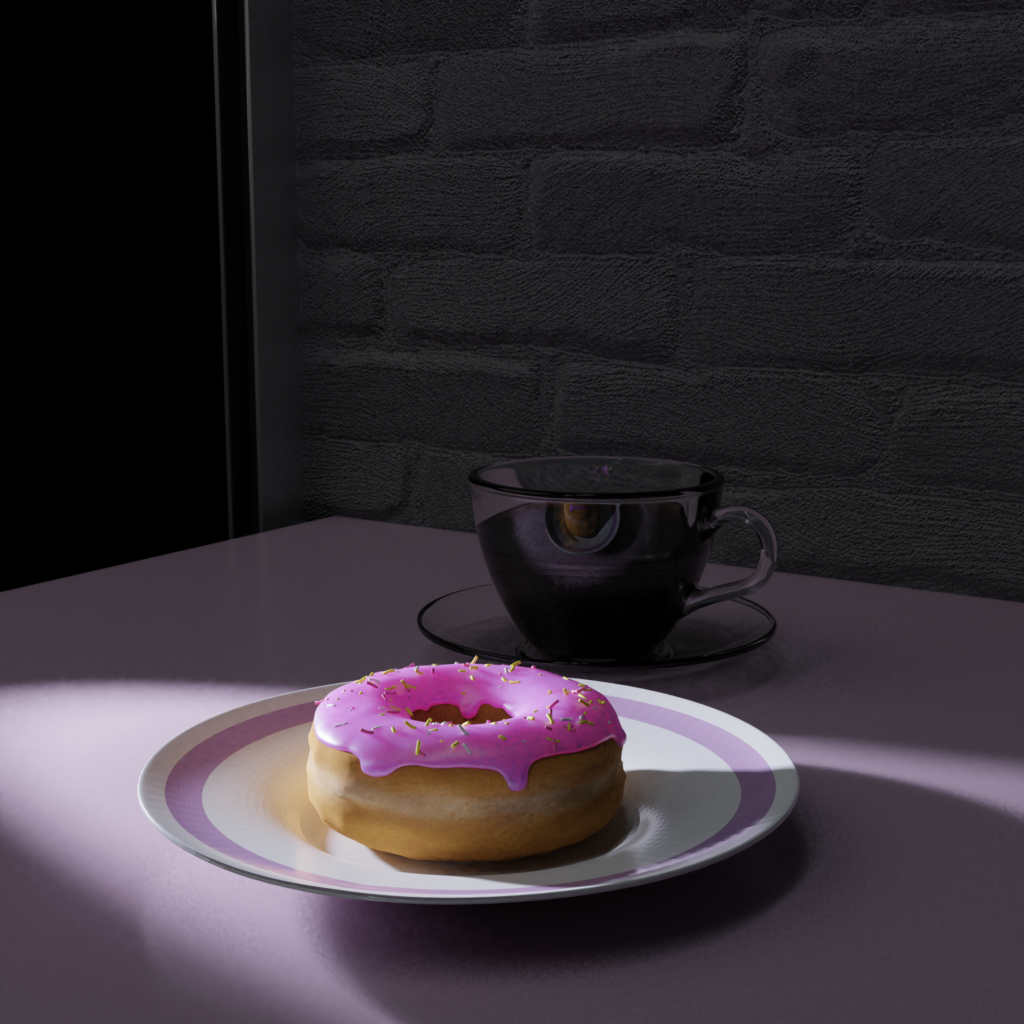
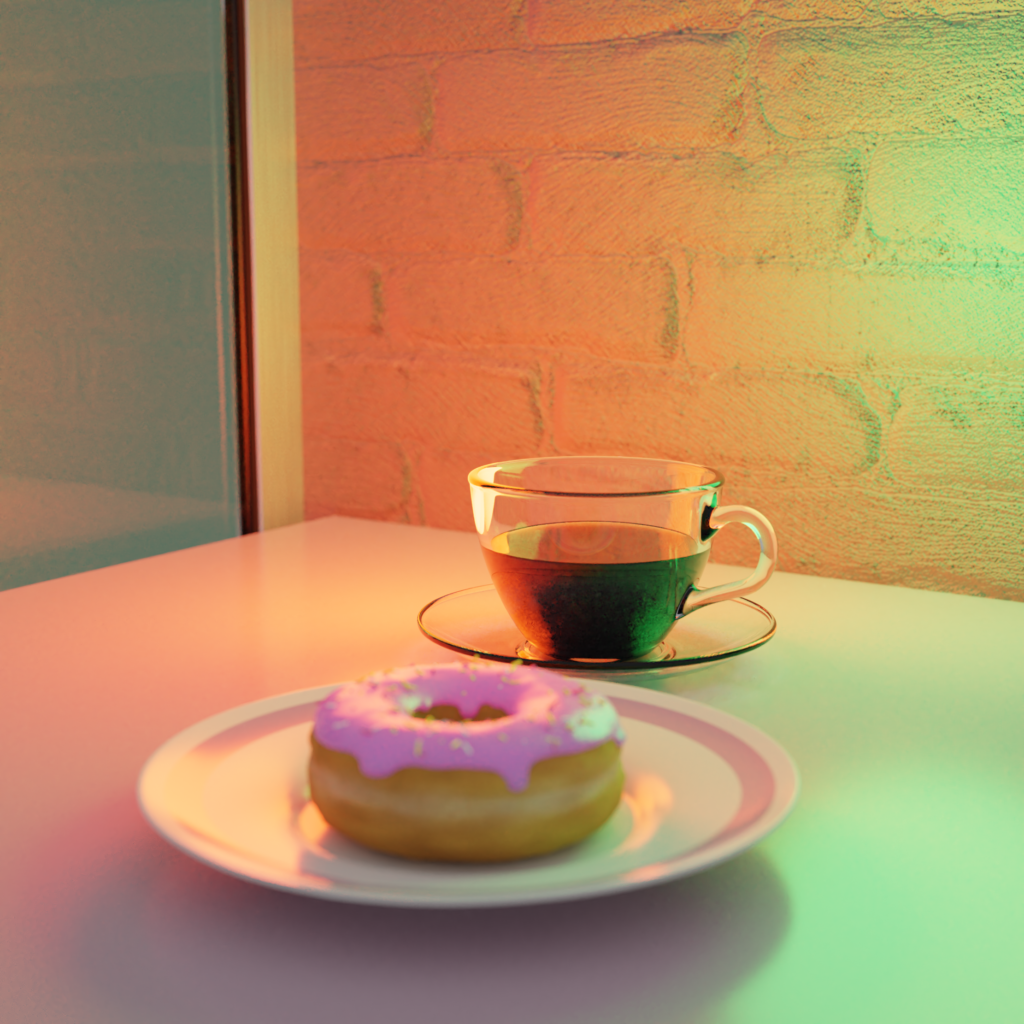
Relighting the Donut scene is the next task. The first one is a flashlight through the window.
- Tart: Final Render
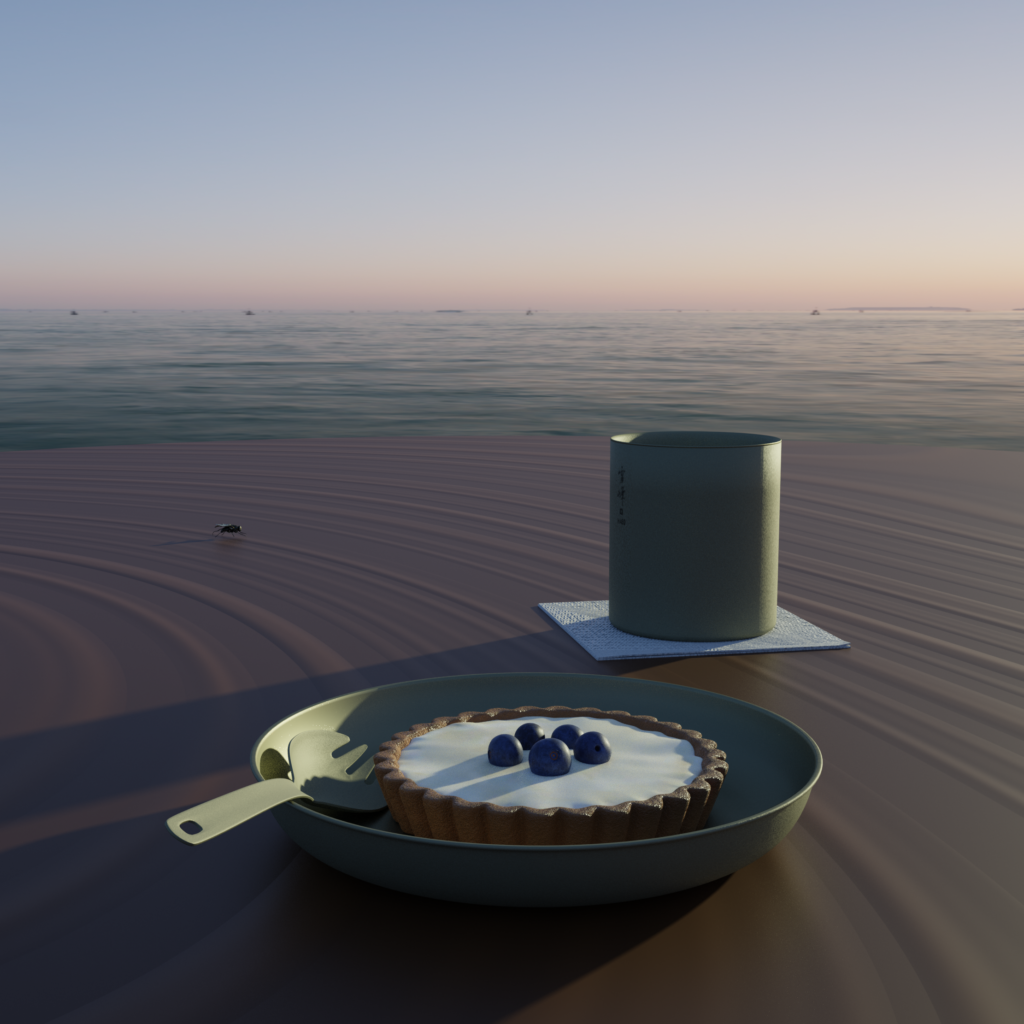
I went ahead and made the spork. The sun angle changed. I rendered it in Cycles, just for the better shadows but had to lower the texture strength on the titanium.
- Tart: more items
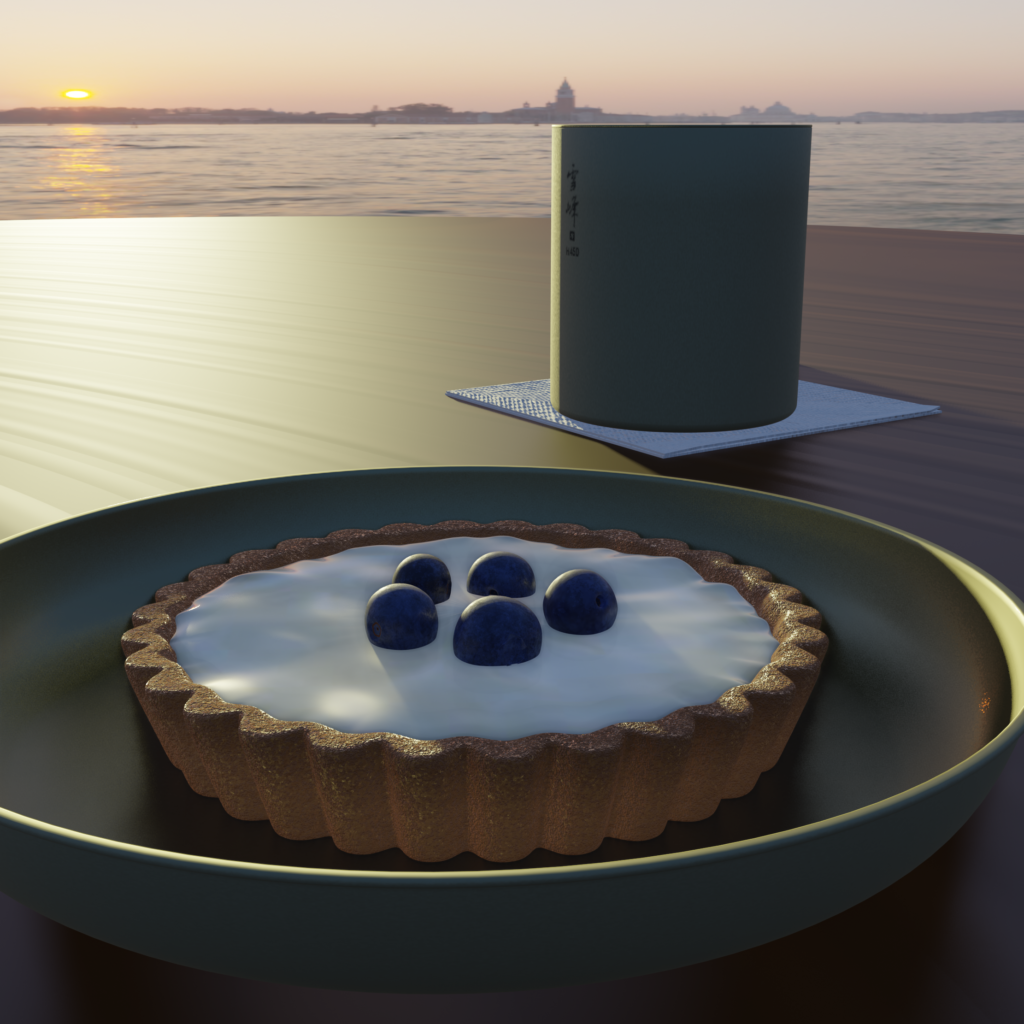
Here’s the tart with custard cream and blueberries. I made a titanium mug and plate. The table is meant to be a wood grain style plastic table. Notice the Eevee shadows don’t even line up on the far edge of the mug.
- Tart: blueberries


I will top the tart with Blueberries.
- Tart: Adding Some Fruit
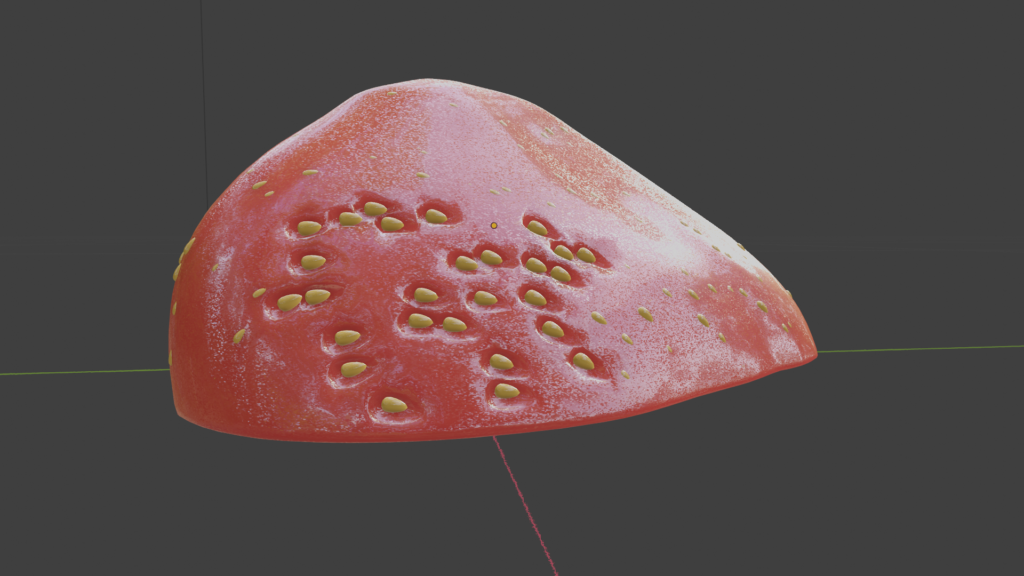
Deciding on the fruit took way too long. My method for making the strawberry was to make the seed in to particles, then enlarge those shapes and do a boolean subtraction from the red surface. The viewport rendering took way to long. I decided to use fewer seeds to test the rendering. The arrangement of the seeds is too random, maybe I could have done a crisscross weight paint. I will do another topping.
- Homework: Tart
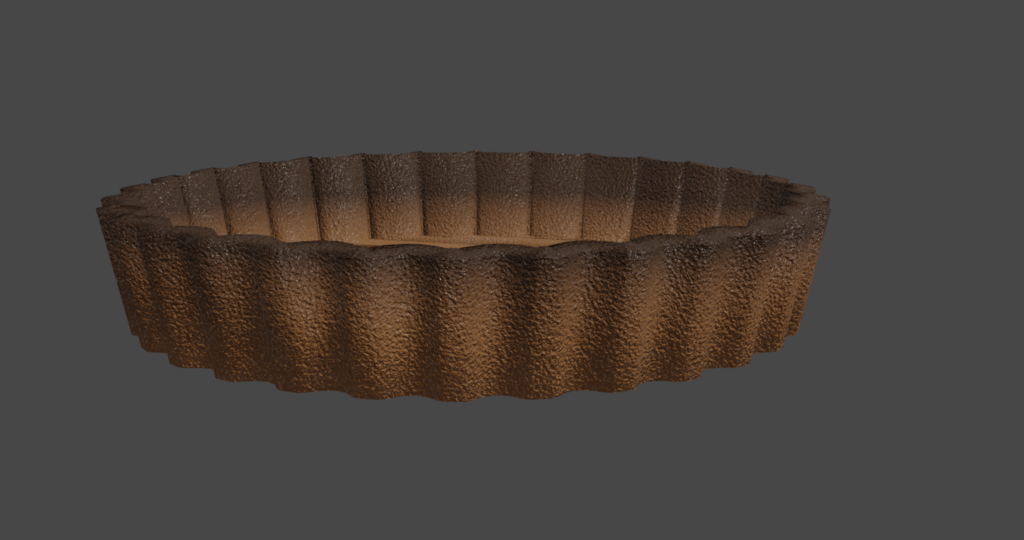
For the homework part of this lesson we have to make our own version of what was done in the Donut scene. I’m picking a Tart. I drew the shape in Affinity Designer using the sprocket tool.
- LuxCore

Eevee 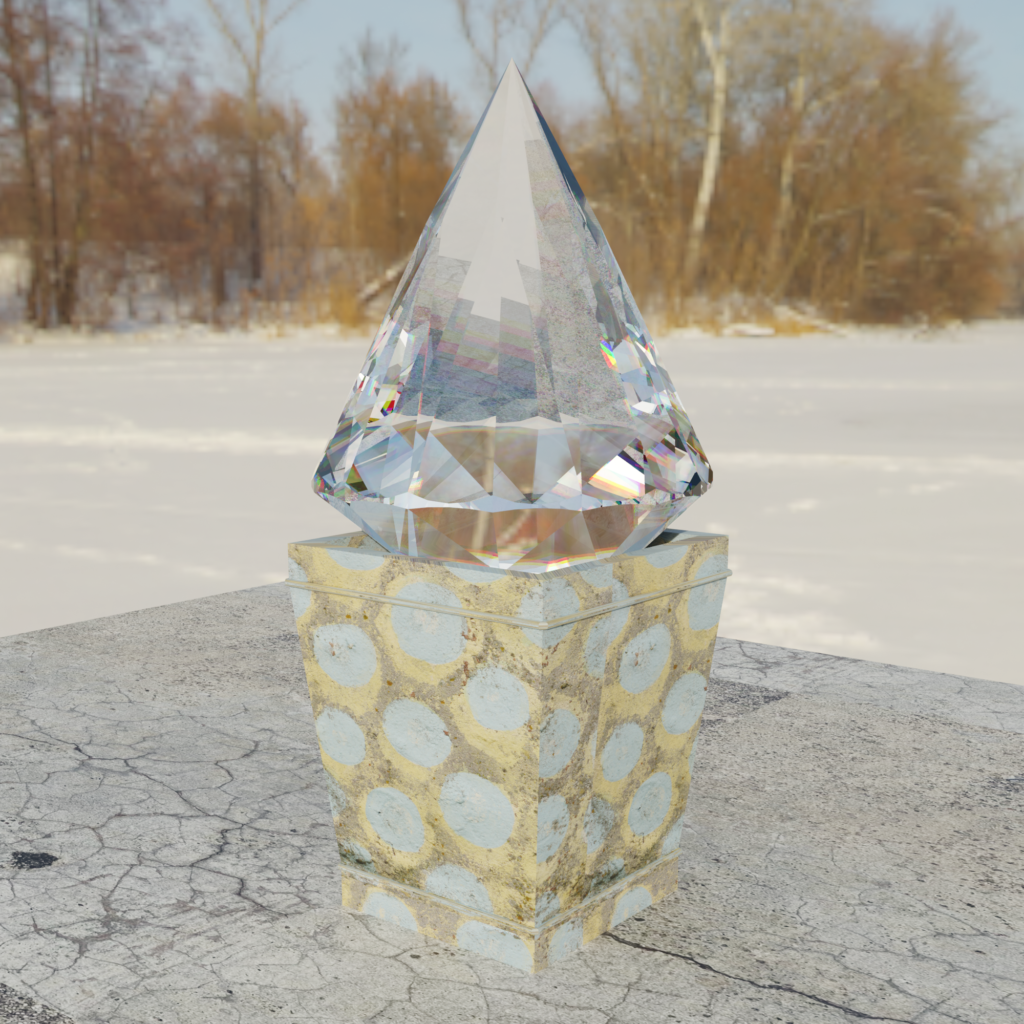
Cycles 
LuxCore 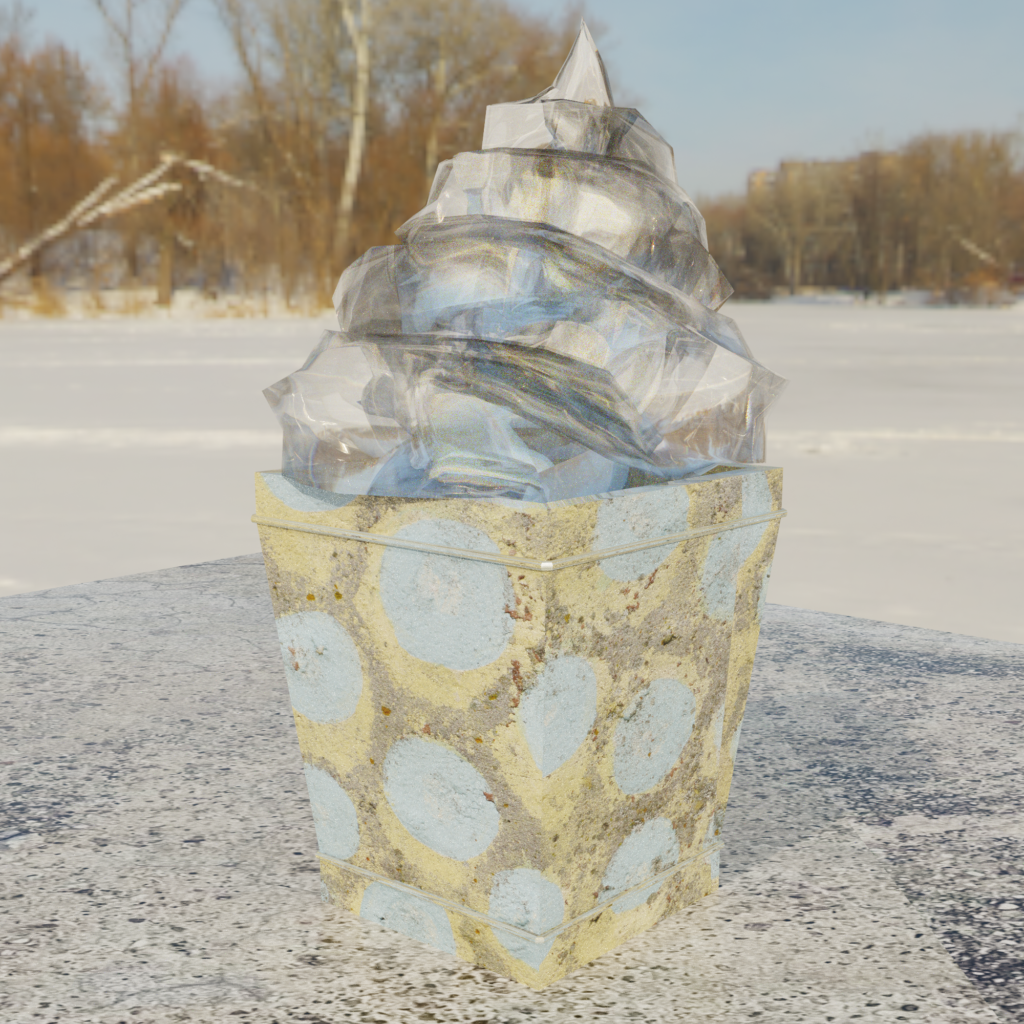
LuxCore ice cream blob I tried the LuxCoreRender add-on and I liked it. The light bounces seem better, plus there’s a dispersion slider in the glass shader. The luxcore engine has it’s own shaders, so if I texture it in Eevee first, I have to redo the nodes.
- Cat Head Mask

I used Blender to make a full face mask. I downloaded a CC0 cat and decimated its head. I edited it for minimal triangles and maximal good looks. I scaled it to my head size. When I cut the parts, the UV mapping kept the correct proportions. Then I brought it into Affinity Designer to scale it to actual size. Below is the 9 page print file. The sizing for the parts is optimized for a 8.5×11 page.
- Donut: Animation
It spins and slides.
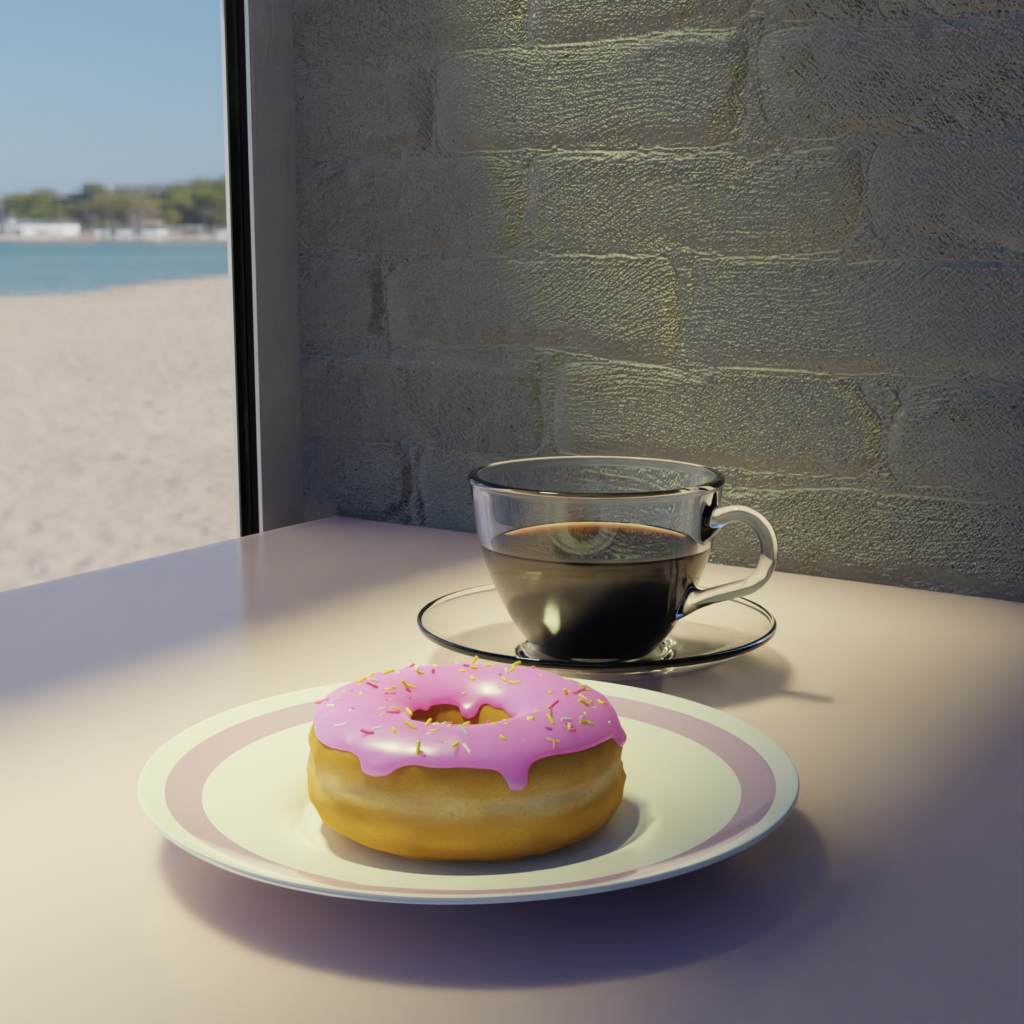
- Donut: Composition v2

I decided to do another render with the depth of field turned off and a higher transmission weight.
- Donut: Composition

Here’s the final composition. I added a plate, table, wall, and glass window. Is the coffee blurry? Its part of the lesson.
Areas of Learning:
Lighting, camera depth of field, basic animation.
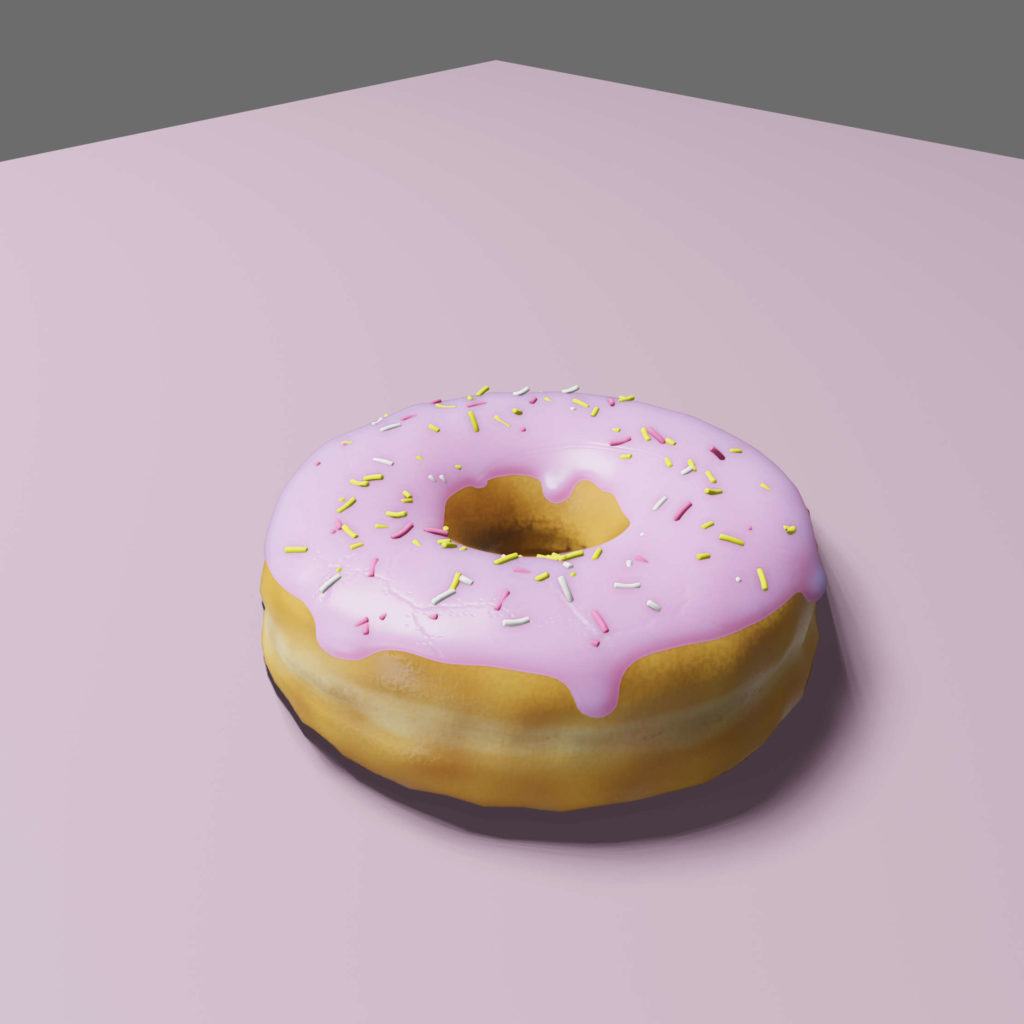
- Donut: Seconds
I went back and reworked the donut to render better in Cycles. The texture still has some sharp angles on the edges, but they don’t show up in the viewport. I realized the texture is a cross between raised and cake.
- Donut: Coffee Cycles
Here’s the Cycles glass shader difference.
- Donut: Coffee Galaxy
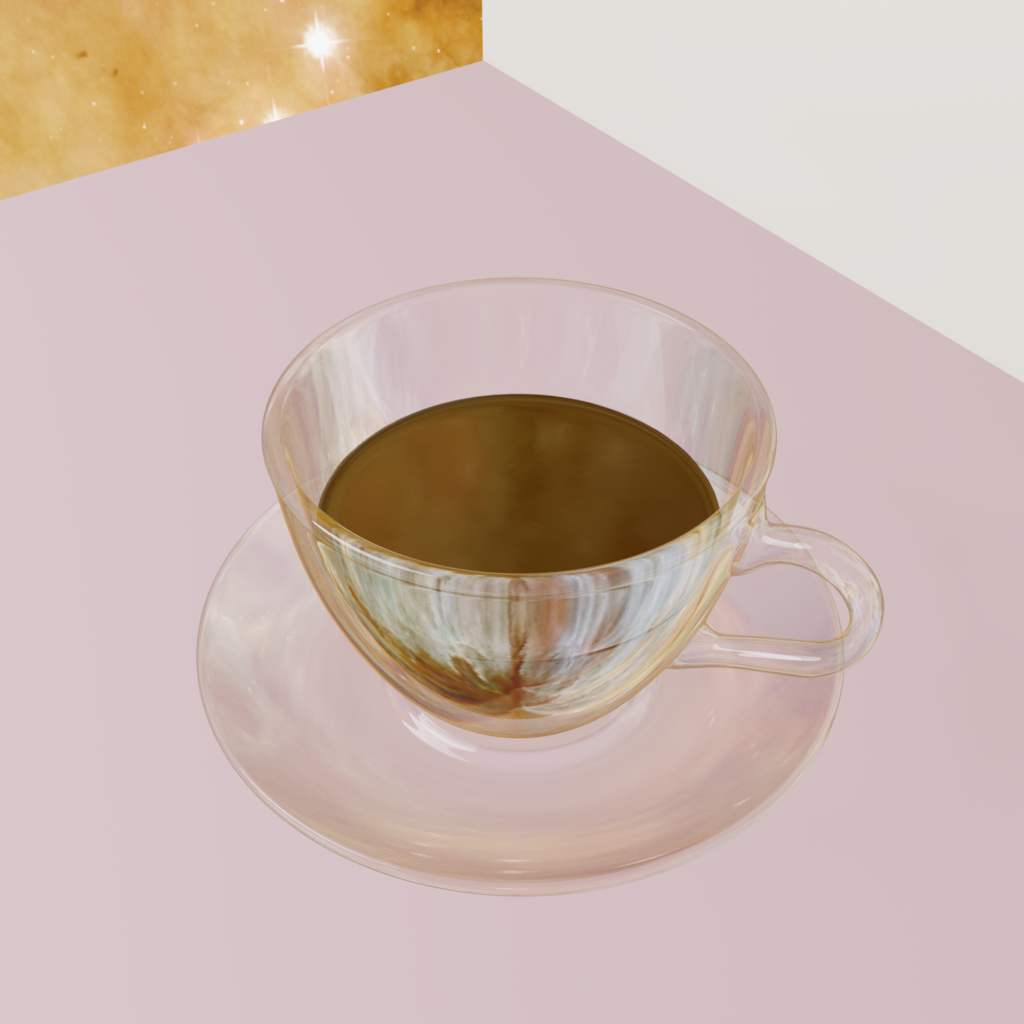
Before I gave up on the Eevee rendering, I tried adding an environmental background. This one is a galaxy.
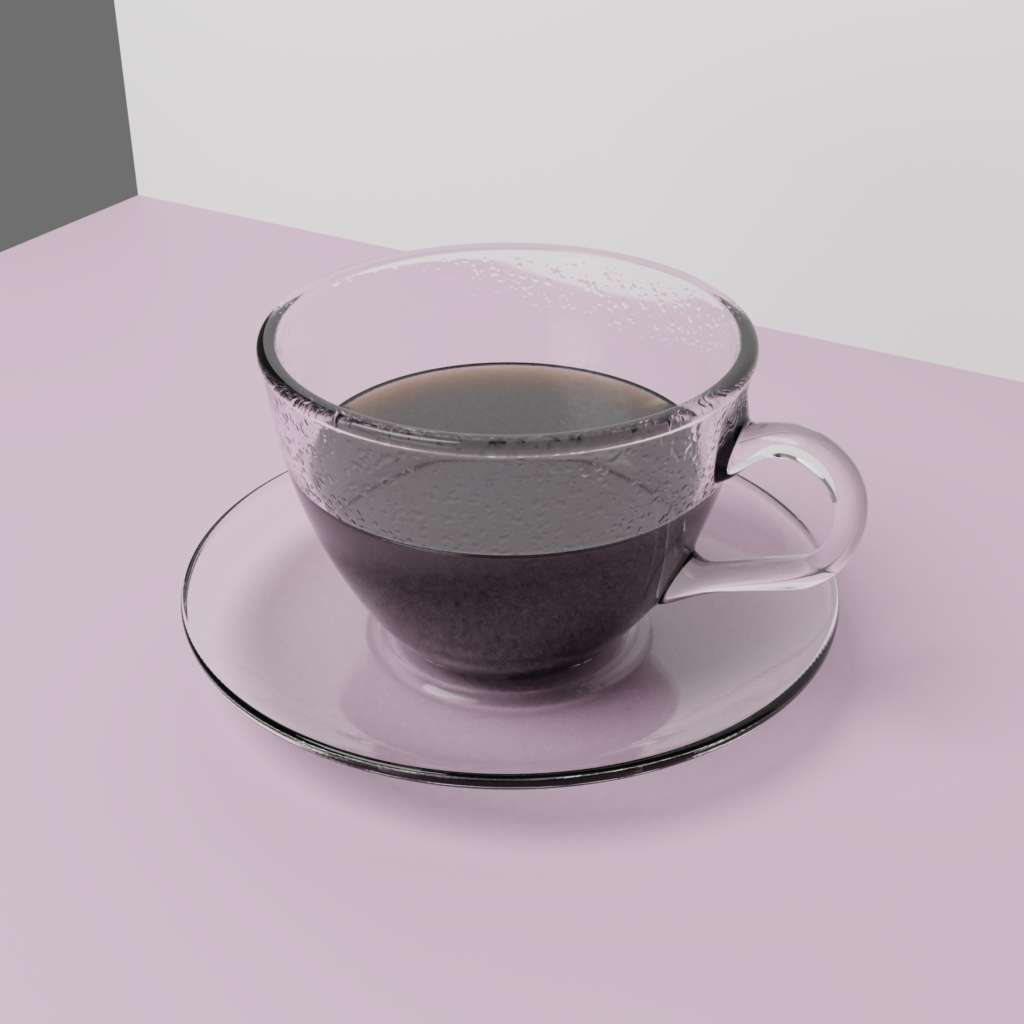
- Donut: Coffee

This is the glass cup of coffee. This is the look of EEVEE. Because of this, I went back to Cycles rendering. The look is interesting, but I wanted more realism. The coffee’s volume setting had little effect in EEVEE.
Areas of Learning:
Extrusion, solidify modification, scale/move/rotate, face, edit: spin & loop cut & crease, glass material, UV unwrap, multiple textures, normal red/blue, volume for color.
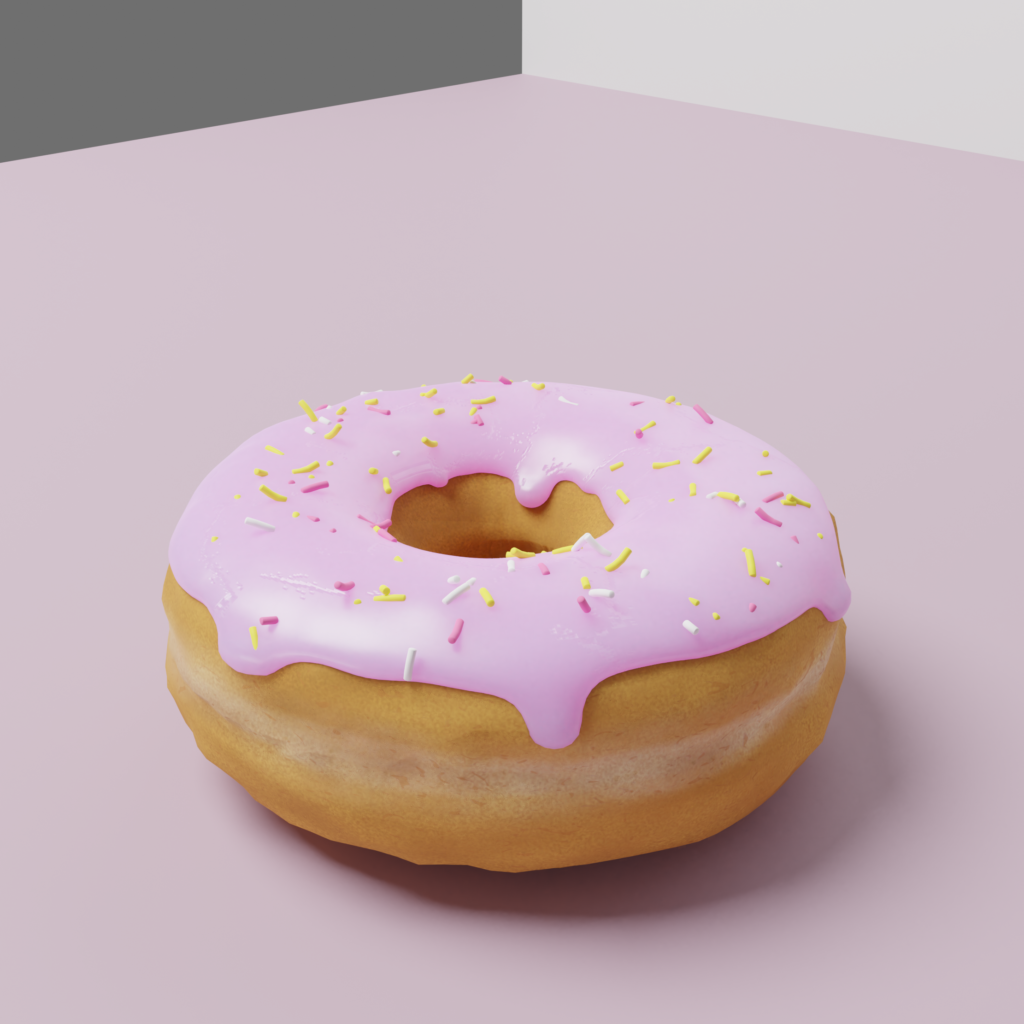
- Donut: First
Here’s the first product. I rendered it in EEVEE. There were some strange areas in the donut when I rendered it in Cycles. Cycles is too noisy, both in the viewport and with the fan.
Areas of Learning:
Adding and shaping a mesh, sculpting, surface and subsurface, particles, instancing particles, weight paint for vertex group, color ramp for random colors, UV edit and painting, coloring with textures, mixing nodes.
- Early Art