Anvil: the Texturing

On the roadway.

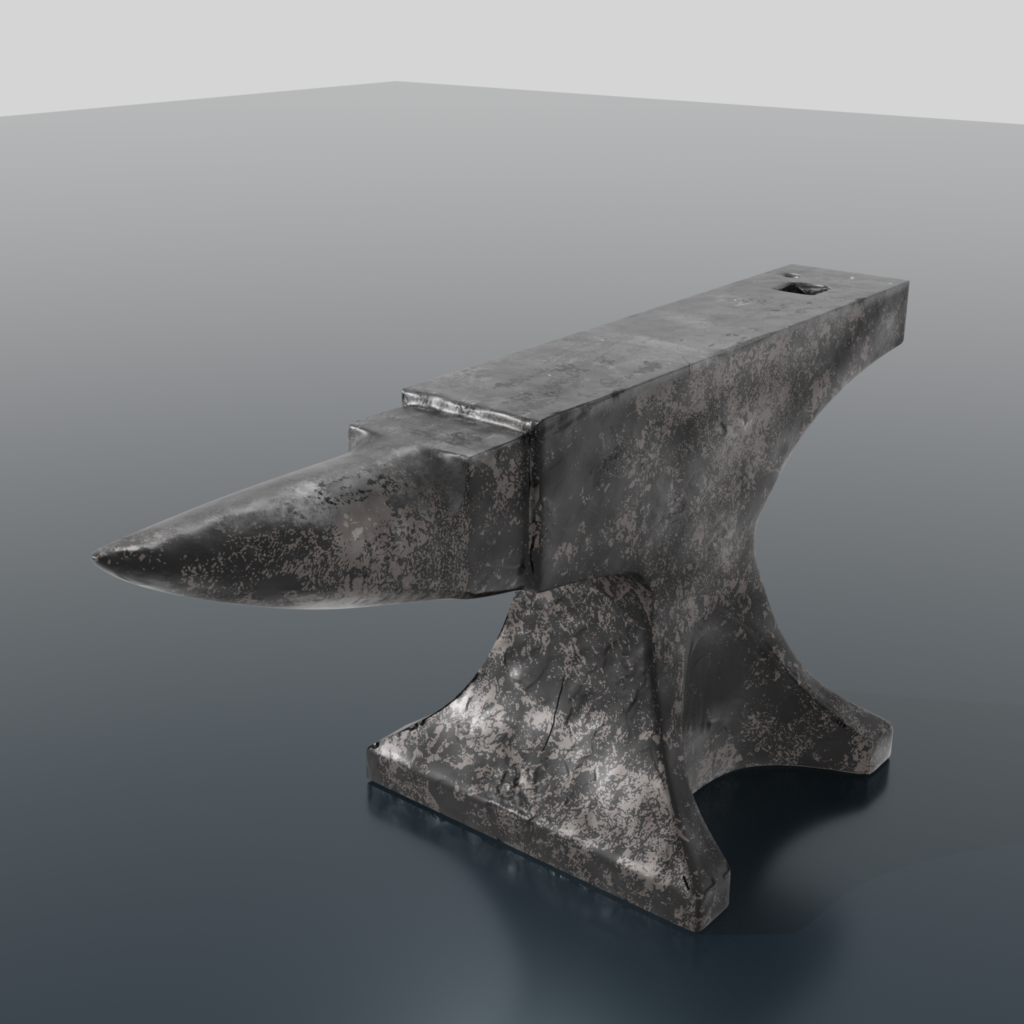
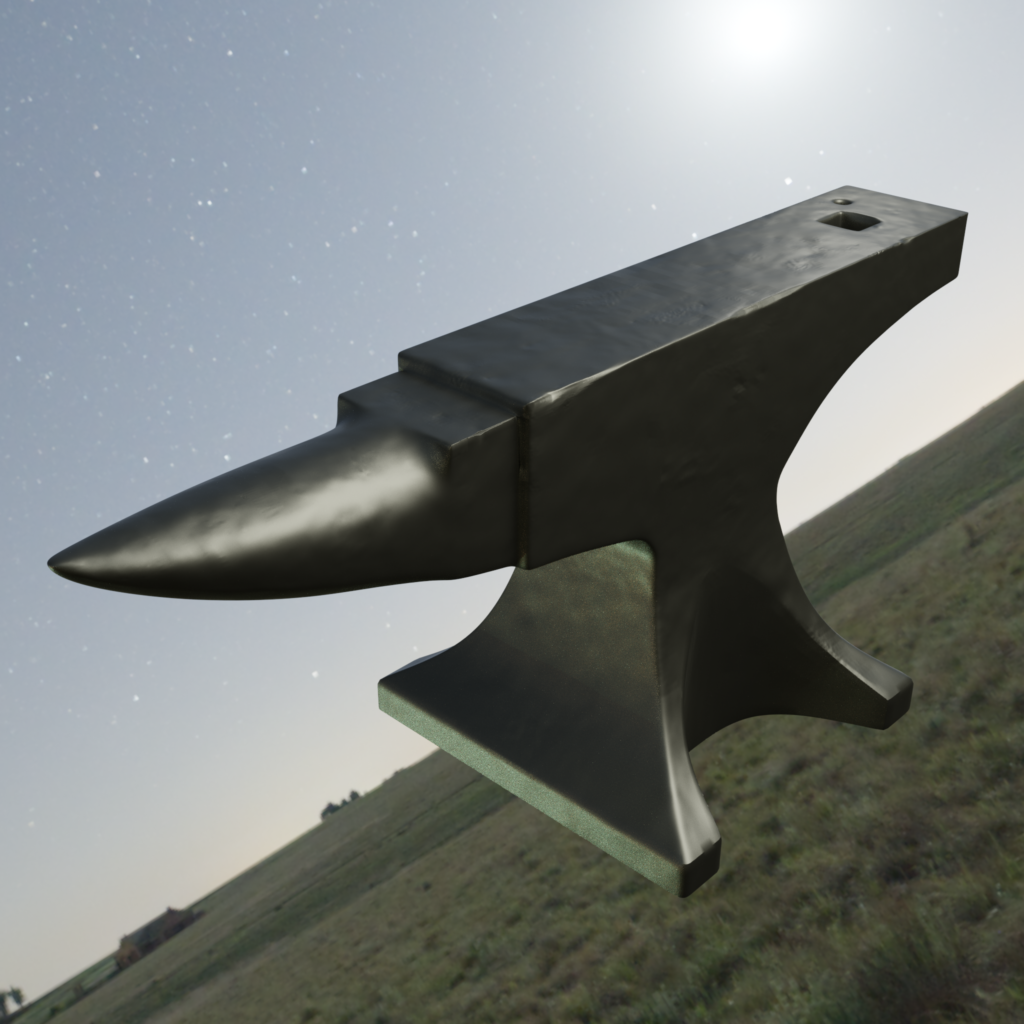
The Final Part of this is adding in a base color. I used a metal that was rusty and changed it with the Color Ramp to greys. A mask is used to make the top of the anvil have a different texture. The Brush lets the blending between the side and top work smoother. The other texture is another shader, and the new Texture Paint Image is the factor for the mix shader. You can blend Textures with a mixRGB node.


Anvil: the Sculpting

This is the Anvil banged up.

Sculpting Notes:
For the slight pounding texture, I used the Displacement modifier: cloud texture. In Sculpture mode, I clicked many Hammer Bangs. The cloud texture brush is used for gritty bumps. I tried not to make too many surface deformations. Why is everything in this lesson made to be old and used?

The sculpted object was then Baked into the unsculpted object. When the normal map is placed into the “smooth” anvil, It went from 430,054 triangles, down to 133,056, while keeping the same look.


Anvil: The Modelling

This anvil is the next lesson. It’s called texturing, but this is the modelling step.

Notes:
The Boolean modifier messes up the “clean” mesh of 4 vertices.
“G” x2 will slide the selection along the edge (vertex slide). “M” merge by distance.
This eliminates some extra geometry that can be introduced by loop cuts.
Loop Cut: on odd curves: “E” and “F” will help it conform to the different sides.

The horn was the hardest. The longitudinal loop cuts (for the Hardy Hole) did end up interfering with the edges. I’m still not sure how to eliminate some Loop Ring parts and terminate them into quads. (I just found Don Newman’s Quad junction Cheat Sheet.)